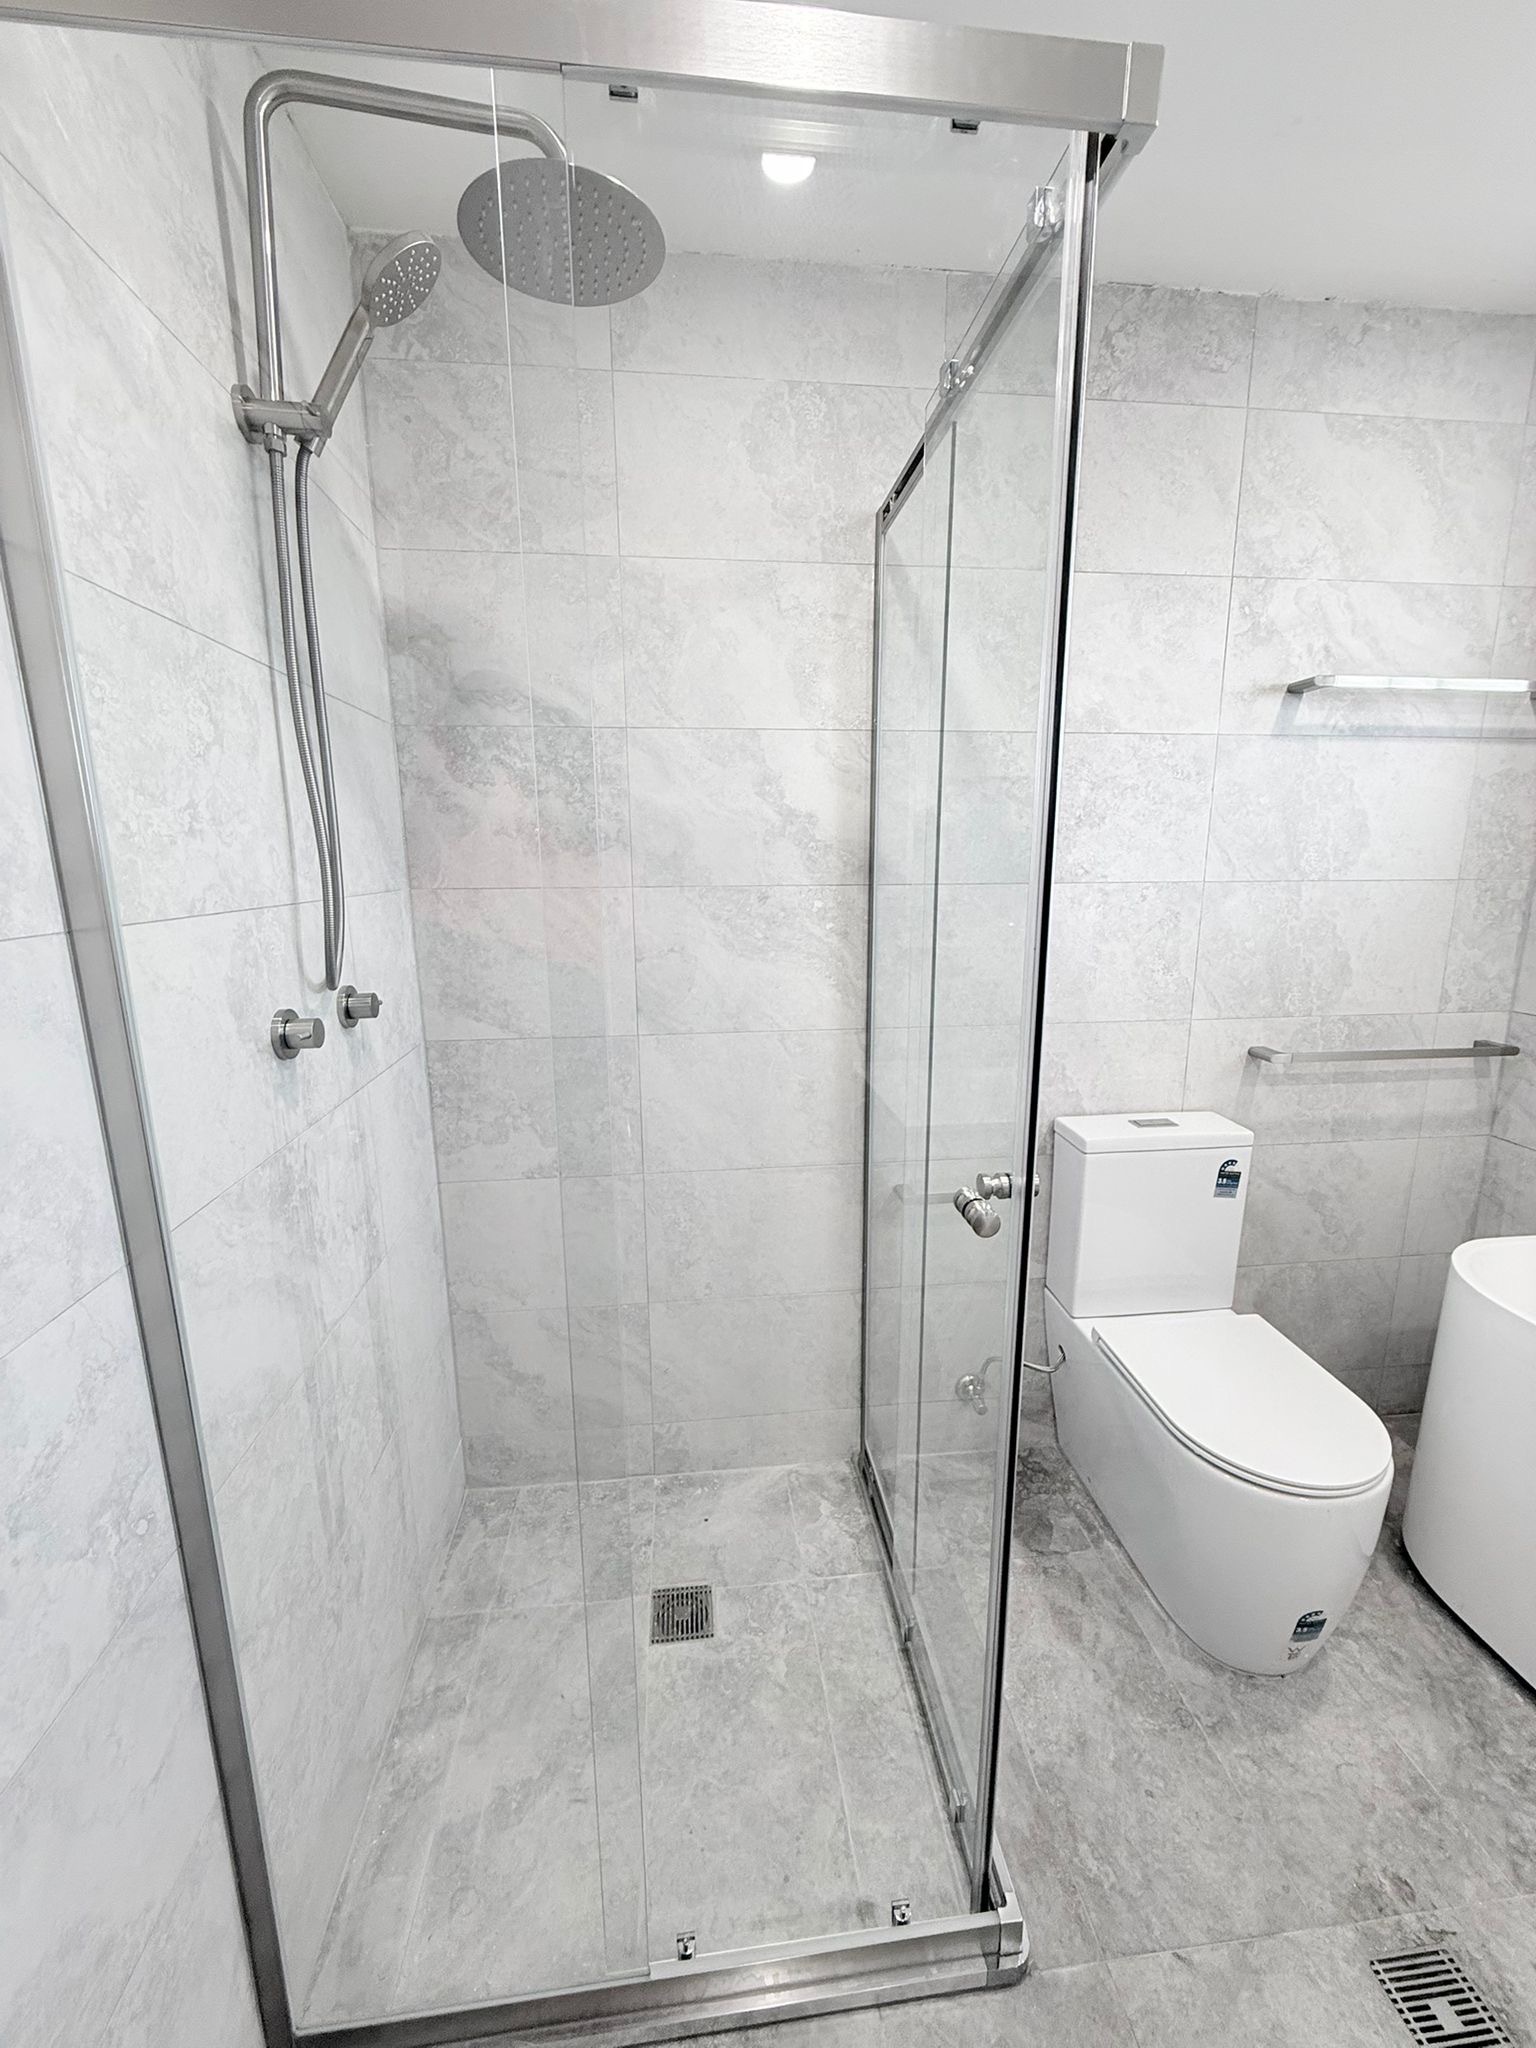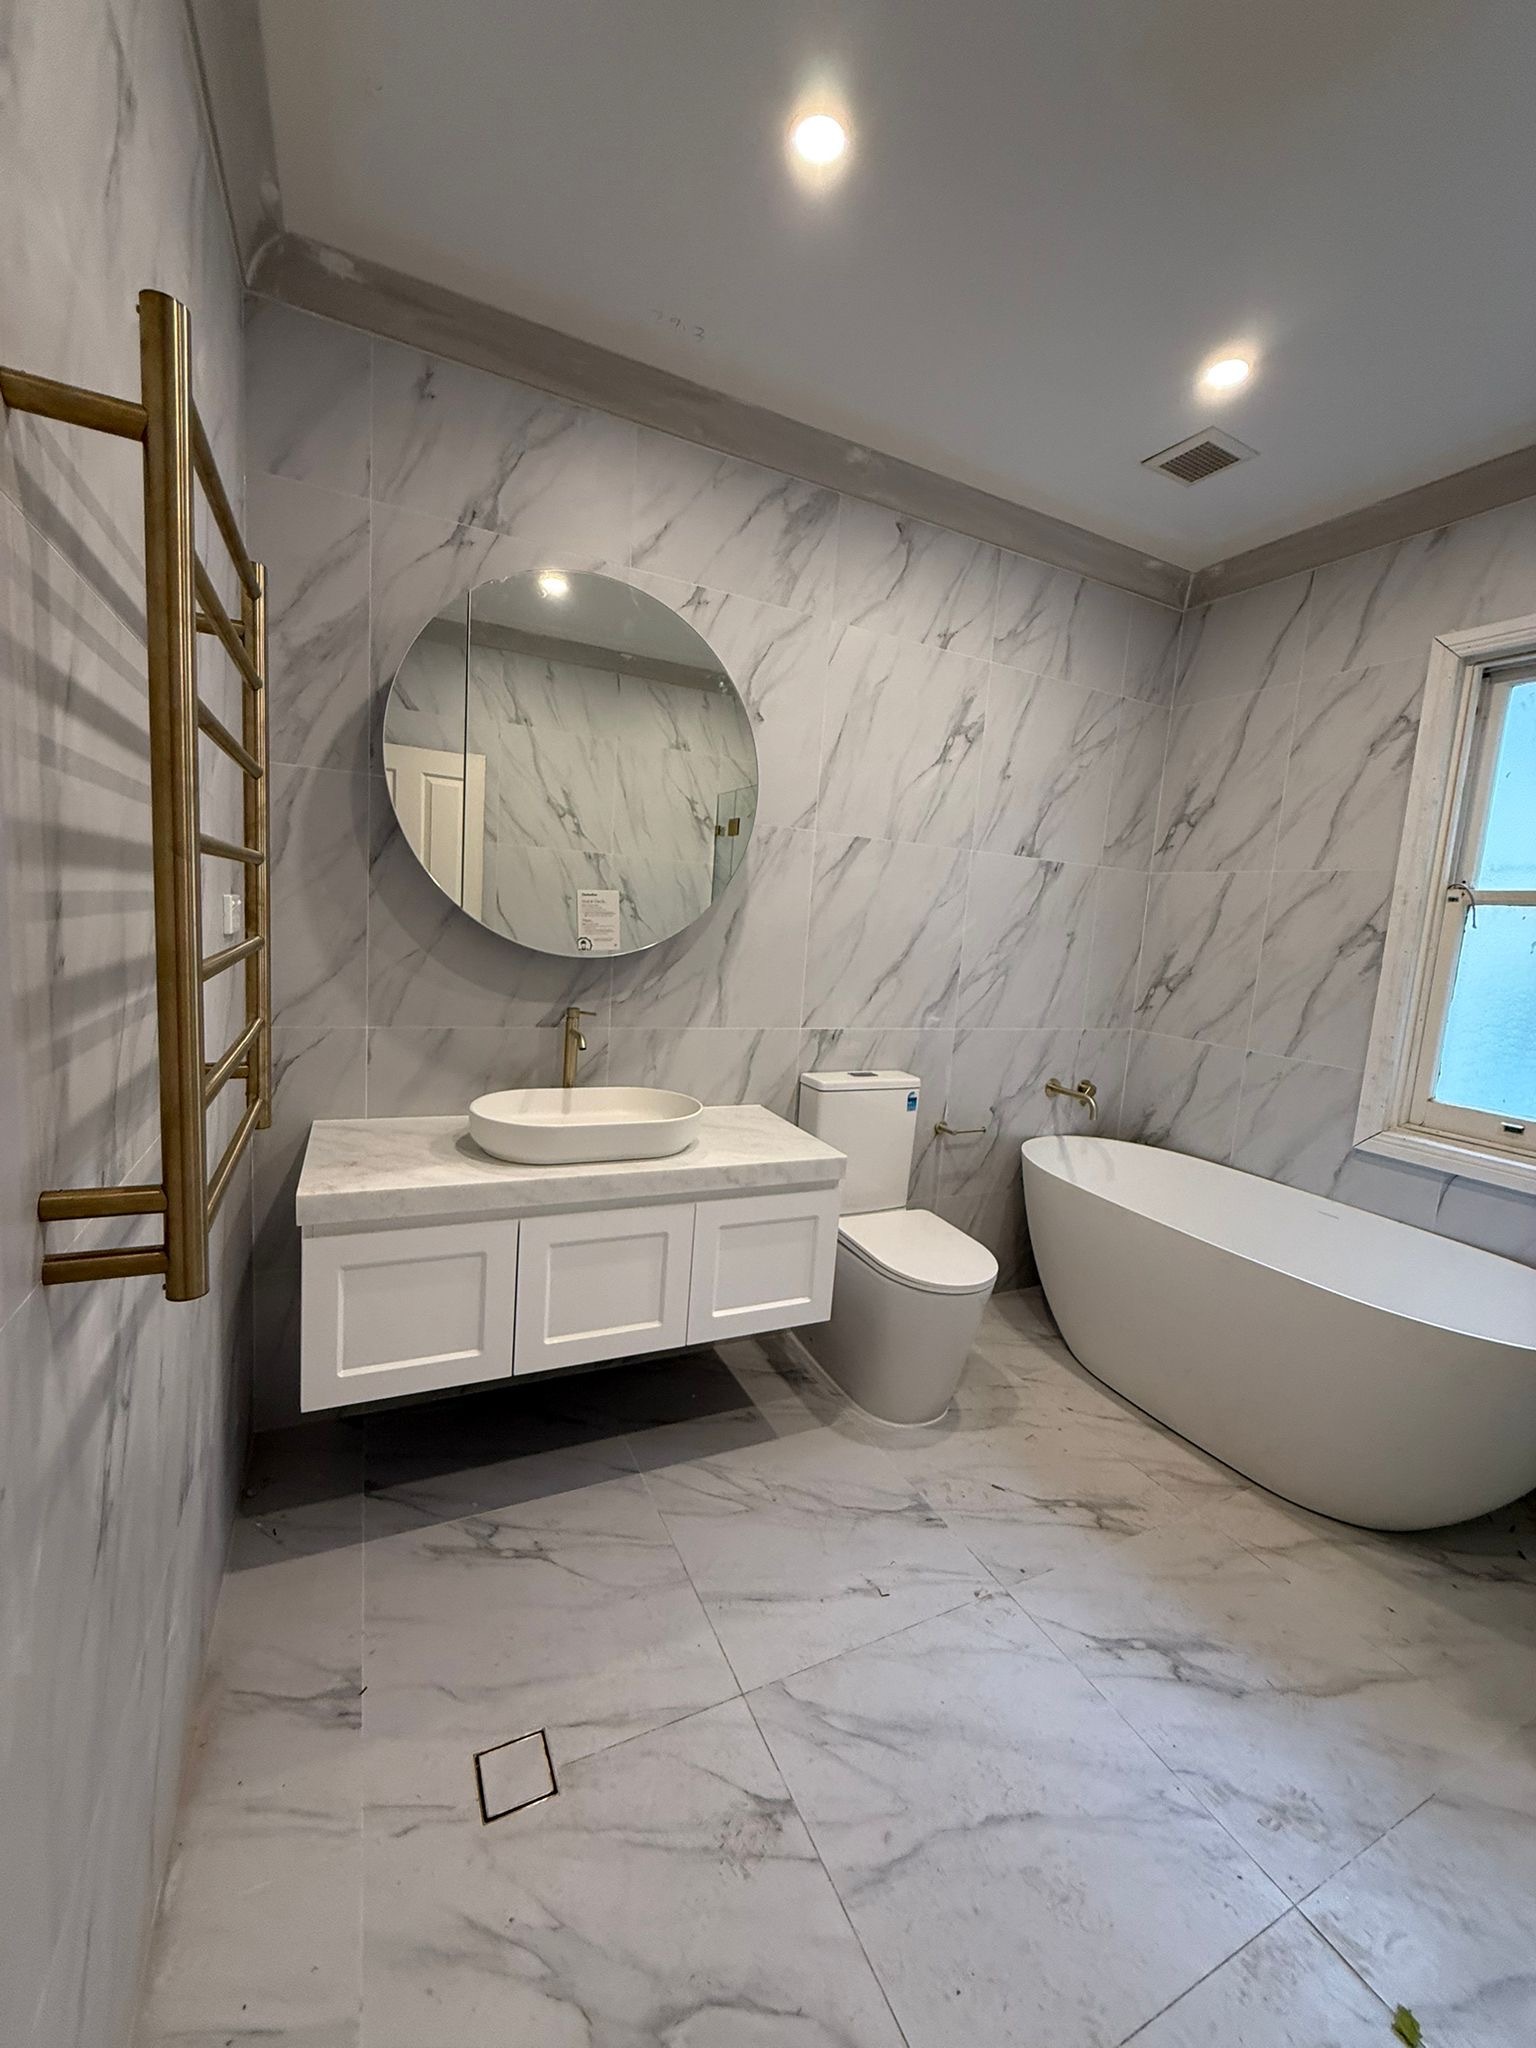
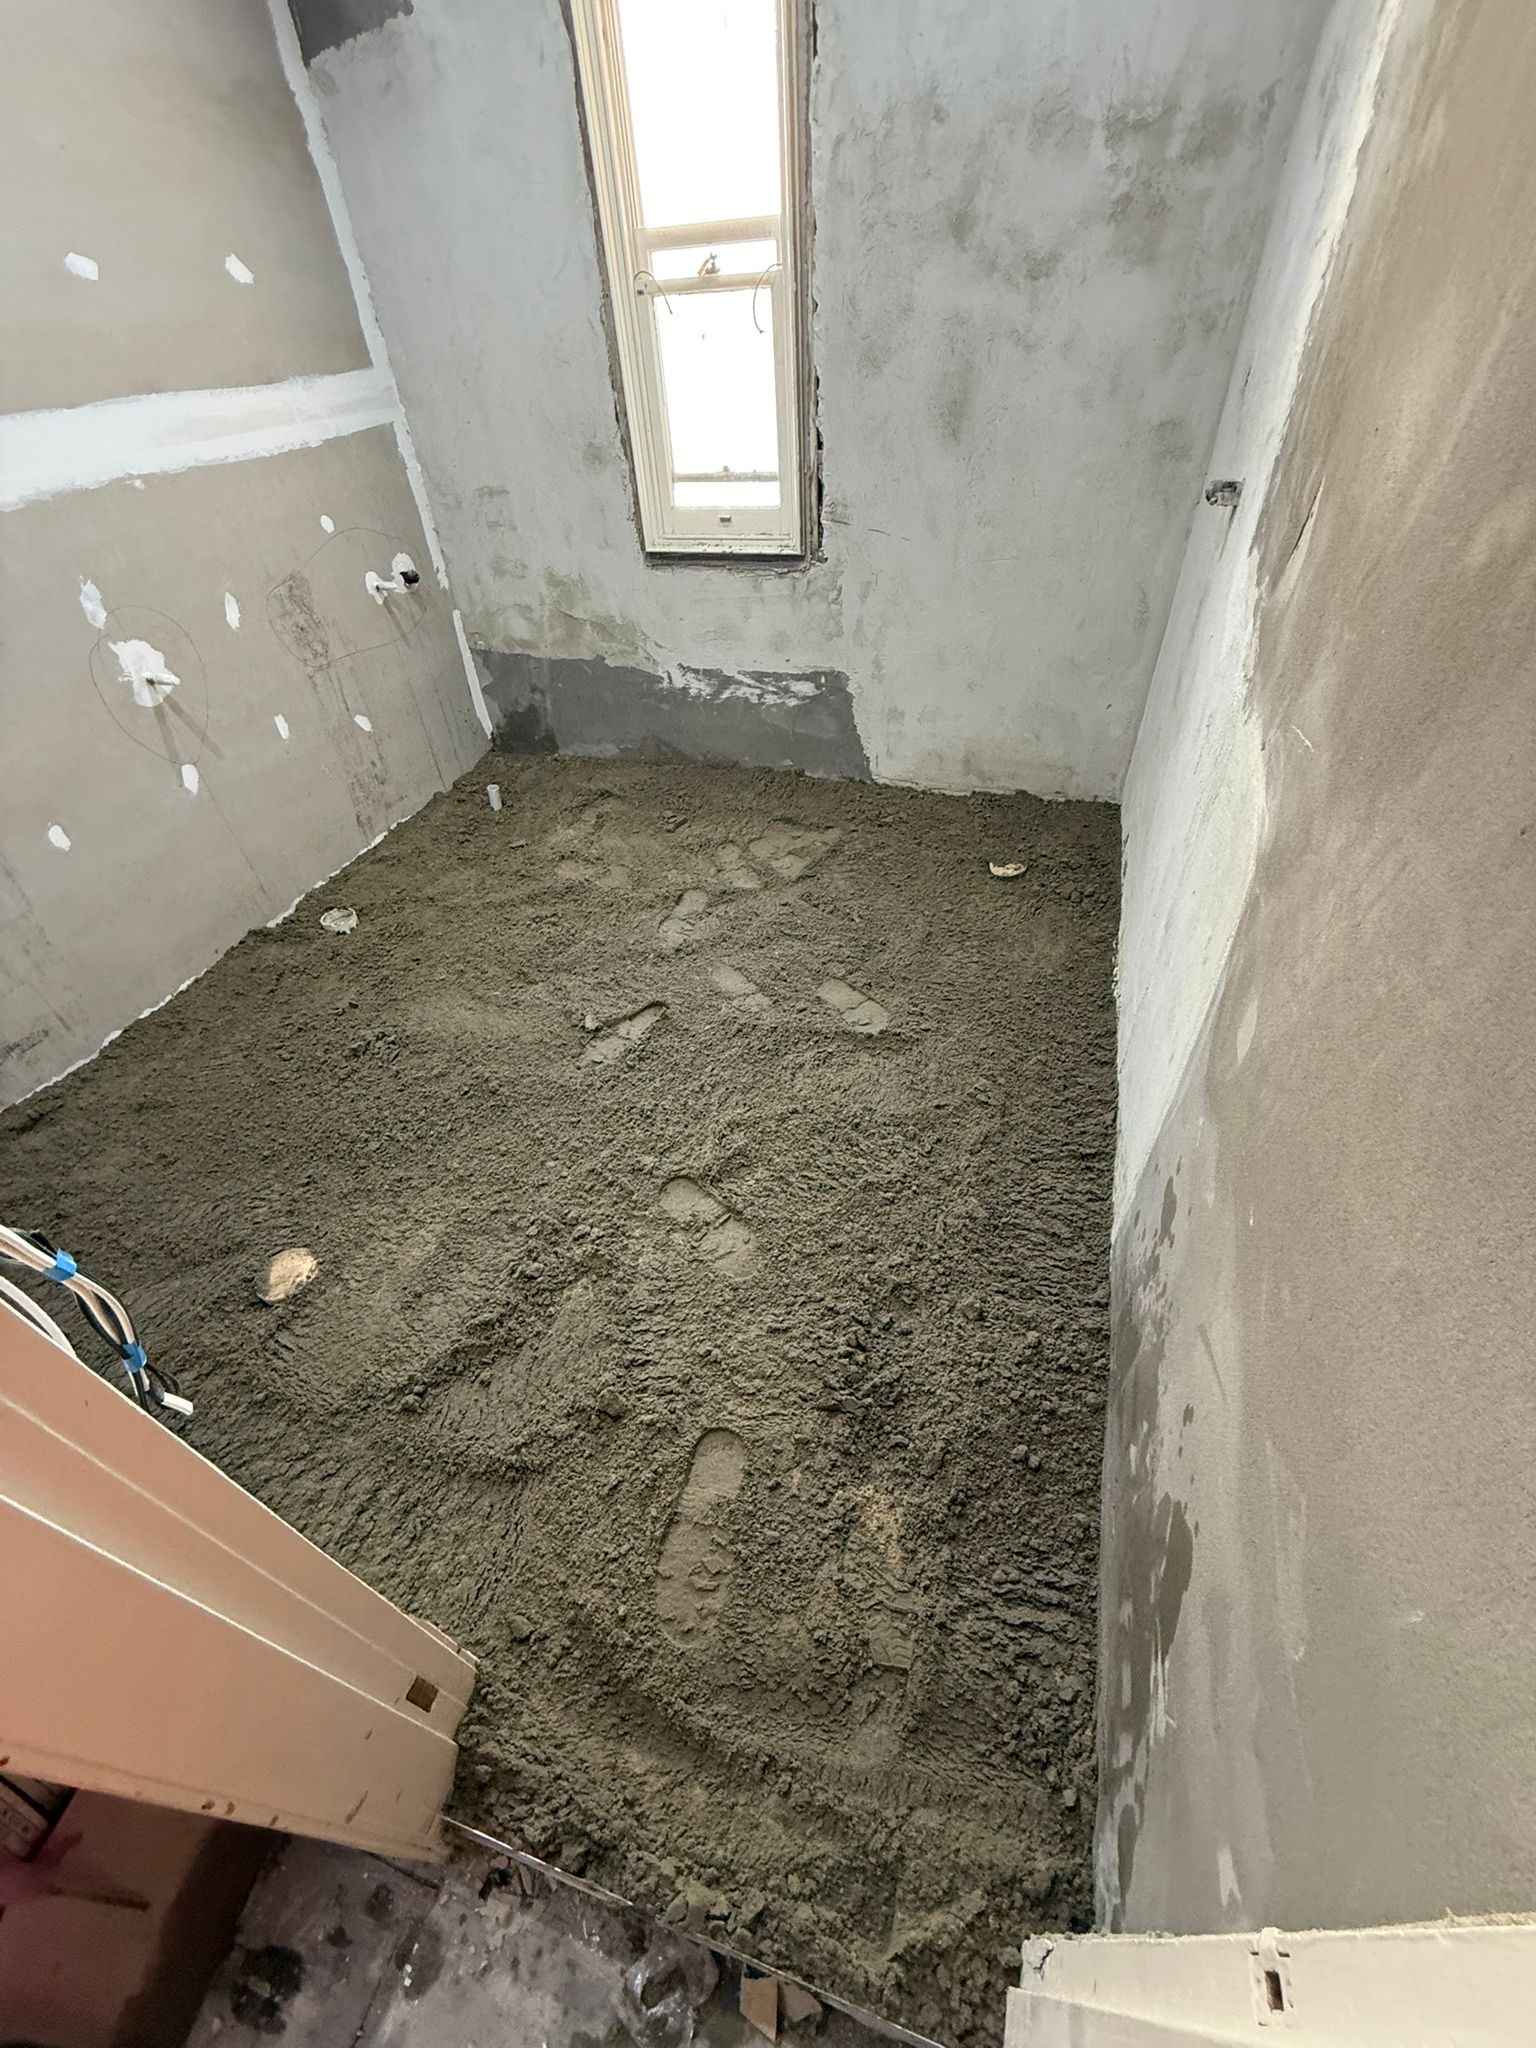
Bathroom waterproofing is the most important part of a renovation and the part you never see once the tiles are down. It protects the structure from water in wet zones, supports the finishes above it, and decides whether the room stays healthy for years. This guide explains how waterproofing works, what AS 3740 requires, where systems fail, and why it is worth doing properly the first time.
What Waterproofing Actually Does
Waterproofing creates a continuous barrier that stops water from reaching timber framing, plasterboard and adjoining rooms. In a bathroom, that barrier sits under tiles and screeds in the shower, around baths, on wet floors and up walls in defined wet zones. When it is continuous and detailed correctly, steam and splash water stay inside the wet area instead of migrating into the building fabric.
Failure is expensive because the damage often shows up late. By the time adjoining walls feel soft, paint blistering appears, or a musty smell settles in, water may already have travelled past the tile face. Fixing that usually means removing finishes, drying the substrate and rebuilding the wet zone, which costs more disruption than getting the membrane right during the original renovation.
Think of waterproofing as the foundation of the bathroom rather than a single coating step. Falls to the floor waste, junction detailing and membrane curing all work together. Skipping any of those parts weakens the whole system, even if the membrane product itself is suitable for wet areas.
For waterproofing as a service within a bathroom renovation, see /bathroom-waterproofing/.
What AS 3740 Requires
AS 3740 is the Australian Standard that sets out how domestic wet areas should be waterproofed. It covers where membranes are required, how floors must fall to wastes, and how junctions, hobs, niches and penetrations should be detailed so water cannot find a weak point. Following the standard is not paperwork for its own sake; it is the practical checklist that keeps wet areas performing.
In plain terms, the wet zone must drain, the membrane must bridge transitions, and penetrations for taps, wastes and fixtures must be sealed. Curing time matters as much as application. Tiling over a membrane before it has cured properly can trap problems that only appear after the room is back in use.
- Membranes applied to the wet areas defined for showers, baths and wet floors
- Falls to the floor waste so water does not pond on the finished surface
- Detailing at wall-to-floor junctions, corners, niches and hob edges
- Sealed penetrations for wastes, taps and other fixtures
- Adequate curing before tiling or covering the membrane
Where Waterproofing Fails, and Why
Most failures start at details, not in the middle of a flat wall. Hobs, internal corners, niche edges and penetrations are where water concentrates and where rushed detailing leaves gaps. Poor substrate preparation, dust or movement cracks can also stop a membrane from bonding, so water finds a path behind the tile bed.
Rushed curing is another common cause. If tiling starts too soon, or if falls are wrong and water ponds, the membrane is asked to hold water it was never meant to sit in. Over time that stress shows up as damp patches in adjoining rooms, a persistent musty smell, or tiles that sound hollow when tapped because the bed or substrate has been compromised.
Homeowners often notice symptoms before they see an open leak. Paint that keeps peeling near a shower wall, skirting that swells, or a soft spot in the wall lining next door are all reasons to investigate the wet area rather than only repainting the visible damage.
Why It Is Worth Doing Right the First Time
Remedial waterproofing almost always means removing tiles, screed and sometimes linings to reach the failed zone. That turns a hidden layer into a second renovation of the wet area. Doing the membrane, falls and detailing correctly during the first build protects the investment in tiles, fixtures and joinery above it.
Waterproofing is a sequence, not a single coat. Strip-out and substrate prep, falls, membrane application, curing checks and then tiling each depend on the step before. Licensed trades and a clear program keep those stages in order so the wet zone is ready before finishes lock everything in.
If you are comparing renovation scopes, ask how waterproofing is sequenced and inspected, not only which tile or tapware is included. The answer tells you more about long-term performance than a finish schedule alone.
Key Takeaways
- Waterproofing protects the structure and sits under the finishes you see every day.
- AS 3740 sets out membranes, falls, junction detailing and curing for domestic wet areas.
- Failures often start at hobs, corners, penetrations or rushed curing rather than open floor areas.
- Damp adjoining walls, musty smells and hollow-sounding tiles are common warning signs.
- Getting waterproofing right first avoids a remedial strip-out of the wet zone later.
Frequently Asked Questions
Ready for your kitchen renovation?
Get a free quote and practical guidance from Reno Right for your Sydney kitchen project.
Related Posts